
In short
- Pick the method based on how many clients you’re bringing and what data you have: one by one, a spreadsheet, their intake form or a code.
- On day one, send a single message with everything they need to log in, and check that they did.
- The welcome tour and the 6-step checklist get your account ready before you publish your first plan.
Onboarding is the first workout
However good your plan is, if Marta gets stuck on the login screen, her first impression is that this is complicated. So prepare the signup the way you’d prepare a first session.
- Have their details ready: name, email and, if you have them, phone, weight and height.
- Decide who creates the account: you (and you send them the login) or the client (and you send them a code).
- Have their first week ready, even a simple one. Logging in to nothing to do is the fastest way to make sure they don’t come back.
The four ways to add clients in 2T4T
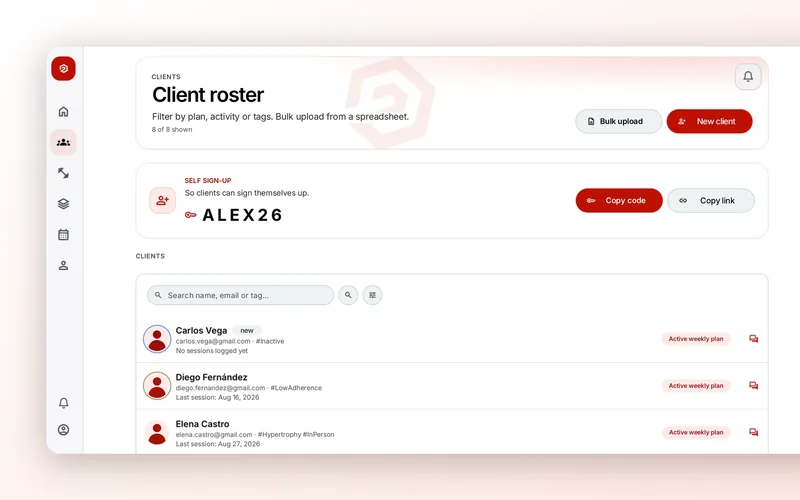
All four are under Clients (“Clientes”).
New client (“Nuevo cliente”)
You enter their name, email and a password (phone, weight and height are optional). Once the account is created you see their credentials only once: hit “Copy credentials” and paste them into your message to the client, because the password won’t be shown again. From there you can go straight to building their first week.
Bulk upload (“Carga masiva”)
For when you’re bringing your whole roster. Download the Excel template with as many rows as clients you’re adding, fill it in and upload it (Excel or CSV). Before anything is created you see which clients will be imported, and any row without a password gets one generated. At the end you get the created credentials: save them with “Copy all,” because they won’t be shown again either.
From a file (“Desde un archivo”)
If you already have Diego’s intake form as a PDF, a photo or a CSV (up to 5 files), upload it and AI reads it: it prepares the signup with his profile, his injuries and a private note, using only what’s written in the file. You review it and add the password, which never comes from the form. If the file includes his plan, it goes to the draft.
The self-signup code
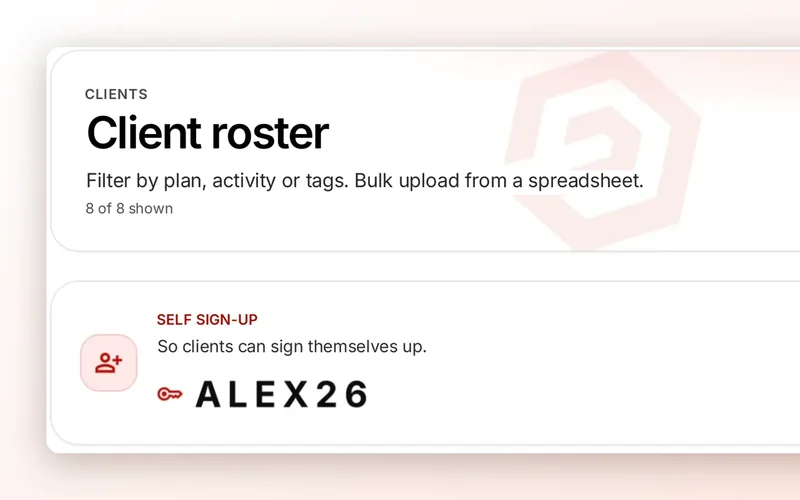
Your roster shows your self-signup code: 6 characters your client uses to create their own account, already linked to you. It lasts 90 days. Clients must be 14 or older. If you see that the code is no longer active, don’t share it.
When to use each one
- A new client sitting in front of you: New client. In two minutes you give them access and they leave the session with the app working.
- Your whole roster, which lived in a spreadsheet: Bulk upload. One afternoon and they’re all in.
- A client with an intake form or plan on paper or PDF: From a file. You don’t retype what’s already written down.
- Several remote clients, or a group: the code. Send it once and each person signs up with their own email and password, with no credentials for you to hand out.
What to tell them so they log in on day one
One message, with everything, on the day you add them. If you created the account:
“Hi Laura, your plan is ready. Install the 2trAIn Cliente app and log in with this email and password. The first time, it’ll ask you to change it to one of your own. Your first session is on Tuesday.”
If you’re using the code:
“Hi Laura, install the 2trAIn Cliente app, tap “Create account” and paste this code into “Your trainer’s code”: K7M2Q9. Once you’re in, your first session is already there.”
In the app, the code field has a “Paste” button, and before creating the account the client checks “I am 14 or older.” The next day, check that they’ve logged in. If not, a one-minute call fixes it before they lose interest.
Get your account ready: the welcome tour and your checklist
The welcome tour (“Guía de bienvenida”) walks you through the web app, screen by screen. You can replay it any time from your account menu or in Settings.
Your checklist (“Tu copiloto”) is the list of 6 steps in your Profile that set 2T4T up your way. Each step ticks itself off when you do it:
- Complete your profile (your photo and bio are the first thing your clients see in their app).
- Bring in your client roster.
- Create your first template.
- Add your own exercises.
- Publish your first plan.
- Open your calendar.
Do them in that order: when your first client logs in, they’ll see your face, their plan and your open slots.